Removing tape-in extensions can be a daunting task, but it doesn’t have to be. With the right approach and a little patience, you can safely remove your extensions without damaging your natural hair. Follow this step-by-step guide to ensure a smooth and damage-free removal process.
Essential Tools
Start by gathering your essential tools. You’ll need:
- A high-quality adhesive remover specifically designed for tape-in extensions
- A fine-tooth comb
- A pair of scissors
- A few hair clips to keep your hair organized
Choosing a reputable adhesive remover is crucial as it will break down the glue effectively while nourishing your hair.
Sectioning Your Hair
Begin by sectioning your hair. Use the hair clips to divide your hair into manageable parts, focusing on the areas with tape-in extensions. This not only makes the process easier but also helps you keep track of which sections have been treated.
Applying the Adhesive Remover
Next, apply the adhesive remover. Generously spray or apply the remover to the area where the tape is adhered. Allow it to sit for a few minutes, as this will help to dissolve the glue. It’s important not to rush this step; giving the remover time to work its magic is key to a safe removal.
Removing the Extensions
Once the remover has done its job, gently start to peel away the extensions. Use the fine-tooth comb to assist in this process. Start from the ends of the extensions and work your way up to the roots, being careful not to tug or pull. If you encounter any resistance, apply a little more adhesive remover and wait a bit longer.
Checking for Residual Adhesive
After successfully removing the extensions, check for any residual adhesive. If you notice any leftover glue on your natural hair, apply more adhesive remover and use the comb to gently remove it. This step is crucial to prevent any buildup that could affect the health of your hair.
Washing Your Hair
To wrap up the removal process, wash your hair thoroughly with a gentle shampoo. This will help to cleanse your hair and scalp, removing any traces of the adhesive remover. Follow with a nourishing conditioner to restore moisture and shine.
Final Thoughts
Removing tape-in extensions can be a breeze when done correctly. By following these steps, you’ll not only protect your natural hair but also set the stage for a fresh start. If you’re considering reapplying extensions in the future, remember to give your hair a break and treat it with love and care during the transition.
Professional Help
For those who want a hassle-free experience, consider booking an appointment with a professional stylist. They have the expertise and tools to ensure a safe and efficient removal. Investing in professional help can save you time, reduce stress, and ultimately keep your hair healthy and vibrant.
Embrace your natural beauty and enjoy the freedom of healthy hair!
Related products
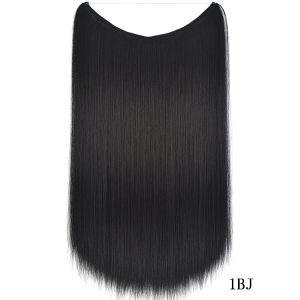
22 Inch Invisible Wire Hair Extensions – No Clips, Secret Fish Line Hairpieces, Silky Straight Synthetic Hair
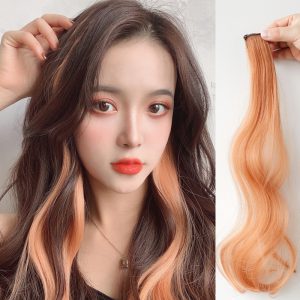
Curly Hair Wig with Hanging Ears | Long Highlighted Extensions in Trendy Colors
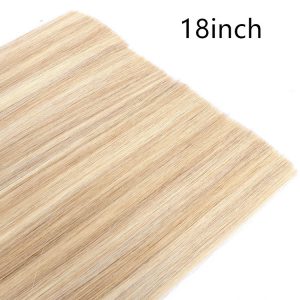
Real Human Hair Seamless Flat Hair Extensions for Effortless Volume and Length