Properly aiming your motorcycle’s auxiliary lights is crucial for enhancing visibility and safety on the road, yet it’s equally important to ensure that your lights don’t become a nuisance to other drivers. A well-aimed light system can illuminate dark roads, making your ride more enjoyable, while also protecting fellow motorists from glare. Here’s how to achieve that perfect balance.
Choosing the Right Auxiliary Lights
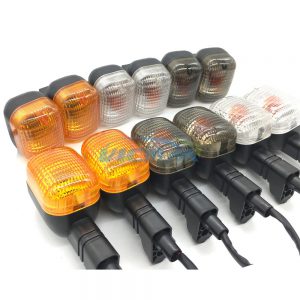
First, consider the type of auxiliary lights you’re using. LED lights are popular for their brightness and efficiency, but their intensity can easily become overwhelming if not adjusted correctly. Start by positioning your motorcycle on a level surface, ensuring that the lights are mounted securely. This foundational step is essential for accurate aiming.
Aiming Your Lights
Next, adjust the lights to the manufacturer’s recommended angle. Typically, this is around 1 to 2 inches lower than the height of your headlight. Aiming too high can blind oncoming traffic, creating dangerous situations for everyone on the road. To find the right angle, use a wall or a garage door as a reference:
- Mark a horizontal line at the height of your headlight.
- Aim your auxiliary lights to project just below this line.
Testing Your Lights
To further refine your light positioning, take your motorcycle for a test ride during twilight or low-light conditions. Find a quiet road where you can observe the effect of your lights without distractions. Pay attention to how the lights illuminate the road ahead and adjust as necessary. Aim for a wide beam that casts light far enough to give you ample time to react to obstacles while avoiding the bright spots that could blind other drivers.
Understanding Beam Patterns
Another key factor is the beam pattern. Many auxiliary lights come with different beam options, such as:
- Spot – focuses light further down the road.
- Flood – offers broad illumination for better peripheral visibility.
- Combination – a mix of both for versatile use.
Choose a configuration that best suits your riding style and typical environments. For instance, if you often ride in rural areas with little ambient light, a combination might be ideal.
Adjusting Light Intensity
Consider using a light dimmer or a switch to adjust the intensity of your auxiliary lights depending on the time of day and road conditions. This flexibility allows you to maintain visibility while being courteous to other drivers. Additionally, ensure your lights are equipped with the latest technology, such as adaptive lighting systems that adjust the beam based on your speed and lean angle.
Regular Maintenance
Finally, remember that regular maintenance is key to ensuring your lights function optimally. Dust and debris can accumulate on the lenses, reducing brightness and visibility. Clean your lights regularly and check for any signs of misalignment, especially after a long ride or a rough trail.
By taking the time to aim your motorcycle auxiliary lights correctly, you not only enhance your own safety but also show respect for fellow road users. The right lighting can make all the difference, transforming your nighttime rides into secure and enjoyable adventures. Illuminate your path without blinding others, and enjoy the freedom of the open road!
Related products
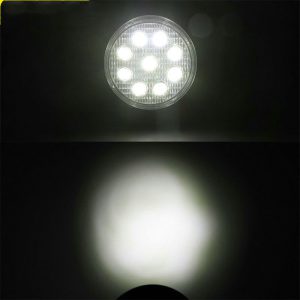
Compact 27W Car LED Work Light – Mini Round 9 Lights Auxiliary Spotlight for Engineering and Modified Headlights
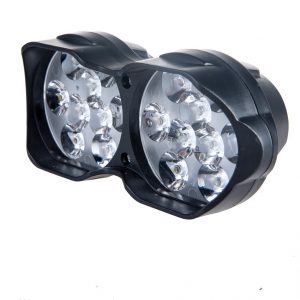
L15 Motorcycle LED Headlights – High-Performance Electric Car External Lights with 9 & 18 Beads Double Spotlight Highlights (9V-85V)
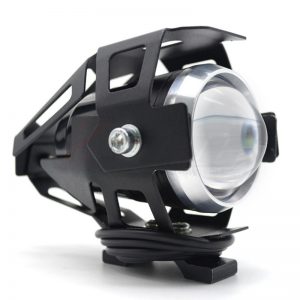
High Power U5 12V Waterproof LED Motorcycle Headlight Auxiliary Lamp Spotlight