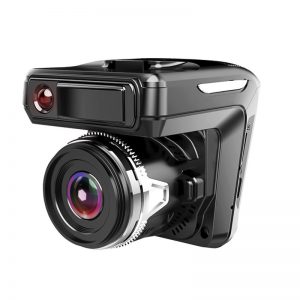
Installing a dash cam can be a game-changer for your driving experience, providing peace of mind and a reliable witness in case of accidents. However, the installation process can sometimes feel overwhelming, especially when it comes to ensuring clean wiring. Avoiding common mistakes is crucial for achieving a professional-looking setup and maximizing your device’s performance.
Gathering Tools and Materials
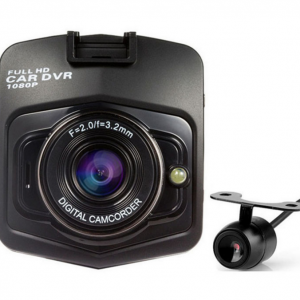
Start by gathering the right tools and materials. A dash cam, hardwire kit, and basic tools like a trim removal tool and a screwdriver are essential. Before diving into installation, take a moment to familiarize yourself with your vehicle’s interior. Understanding the layout will help you plan the best wiring route, minimizing visible wires and ensuring a neat finish.
Clean Wiring Tips
One of the most effective clean wiring tips is to conceal the cables as much as possible. Begin by routing the power cable along the headliner, down the A-pillar, and towards the fuse box. Use the trim removal tool to gently lift the plastic trim without damaging it, allowing you to tuck the wires securely underneath. This not only enhances the aesthetics but also protects the wires from wear and tear.
Choosing a Power Source
When choosing a power source, consider using a hardwire kit instead of the standard car charger. Hardwiring your dash cam directly to the fuse box provides a cleaner look and eliminates the clutter of dangling wires. It also allows for features like parking mode, which keeps your camera running even when your vehicle is off. To avoid common mistakes, ensure you select the correct fuse for your hardwire installation:
- Refer to your vehicle’s manual for guidance.
- Double-check the amperage to prevent electrical issues.
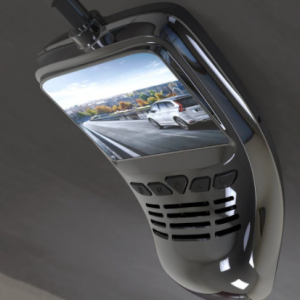
Proper Placement of the Dash Cam
Proper placement of the dash cam is equally important. Position it behind the rearview mirror for optimal visibility while avoiding obstruction of your view. This placement minimizes distractions and helps capture clear footage. Before finalizing the installation, test the camera’s angle and adjust it if necessary to ensure it captures the intended field of view.
Checking Functionality
One mistake many first-time installers make is neglecting to check the camera’s functionality before securing everything in place. Take a few moments to turn on your dash cam and verify that it’s recording properly. This small step can save you from a frustrating experience later on if you discover that your camera wasn’t functioning correctly due to improper installation.
Securing Cables
After confirming everything is working, secure all cables and ensure they are firmly tucked away. Use zip ties or adhesive clips to keep the wiring organized and prevent any potential rattling. A tidy installation not only looks professional but also reduces the risk of the wires interfering with any moving parts of the vehicle.
Conclusion
In conclusion, a well-executed dash cam installation can enhance your driving experience while providing essential security. By following these clean wiring tips and avoiding common mistakes, you’ll be able to enjoy the benefits of your dash cam without the hassle of messy wires or technical issues. Take the time to do it right, and you’ll be rewarded with a seamless, effective dash cam setup that keeps you safe on the road.
Related products

Wireless Carplay Light Sense WiFi Navigation Dash Cam for Driving Safety
Small Eye Full HD Dash Cam Car DVR Recorder with WiFi Connectivity
Original Podofo A1 Mini Car DVR Camera – Full HD 1080P DASH CAM with G-Night Vision Sensor